Tulips in Montreal arrive quietly at first.
One morning the snow feels thinner, the light softer. Then suddenly, almost overnight, patches of colour begin appearing across the city. Along garden paths. In neighbourhood parks. In the carefully planted beds of the Botanical Garden.
After a long Montreal winter, tulips don’t simply bloom.
They feel like a celebration.
Why Tulips in Montreal Feel So Magical
There are many spring flowers, but tulips in Montreal carry a particular emotional weight.
Winter here is long. Months of snow, grey skies, and bare trees create a kind of stillness in the landscape. When tulips appear, they break that silence with colour.
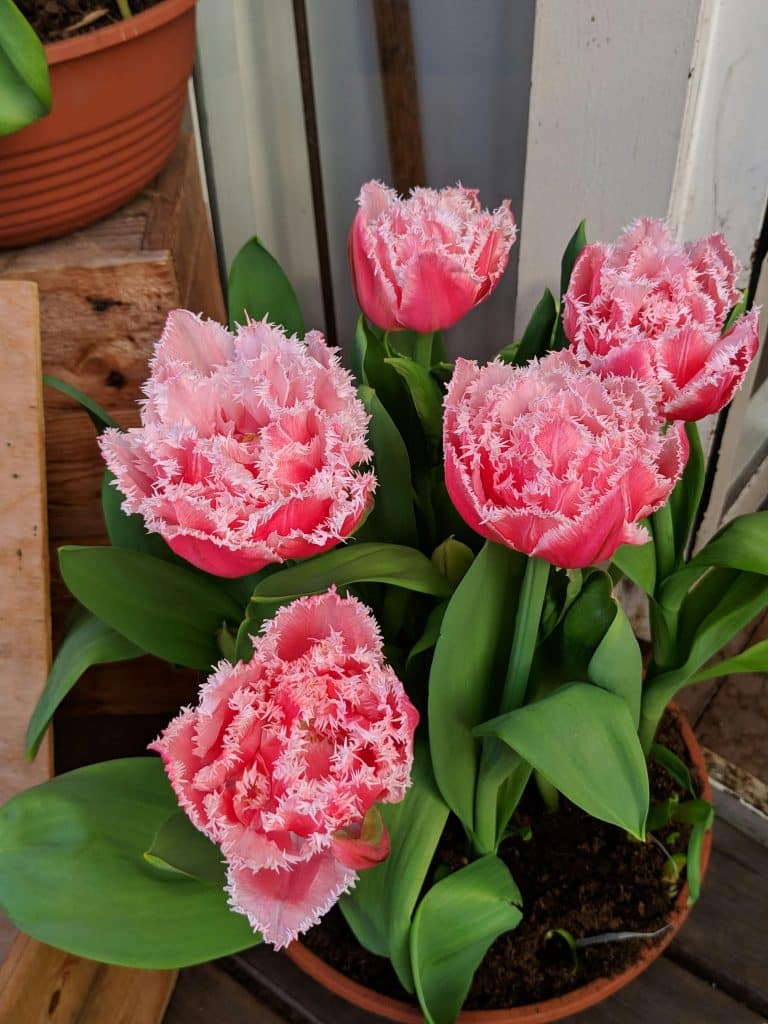
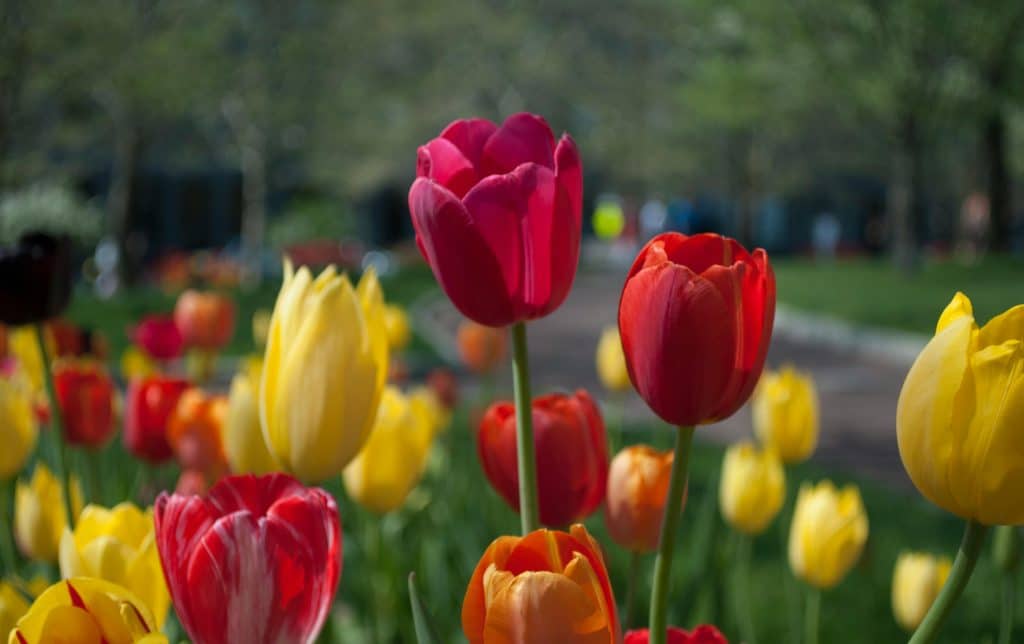
Soft pinks.
Bright reds.
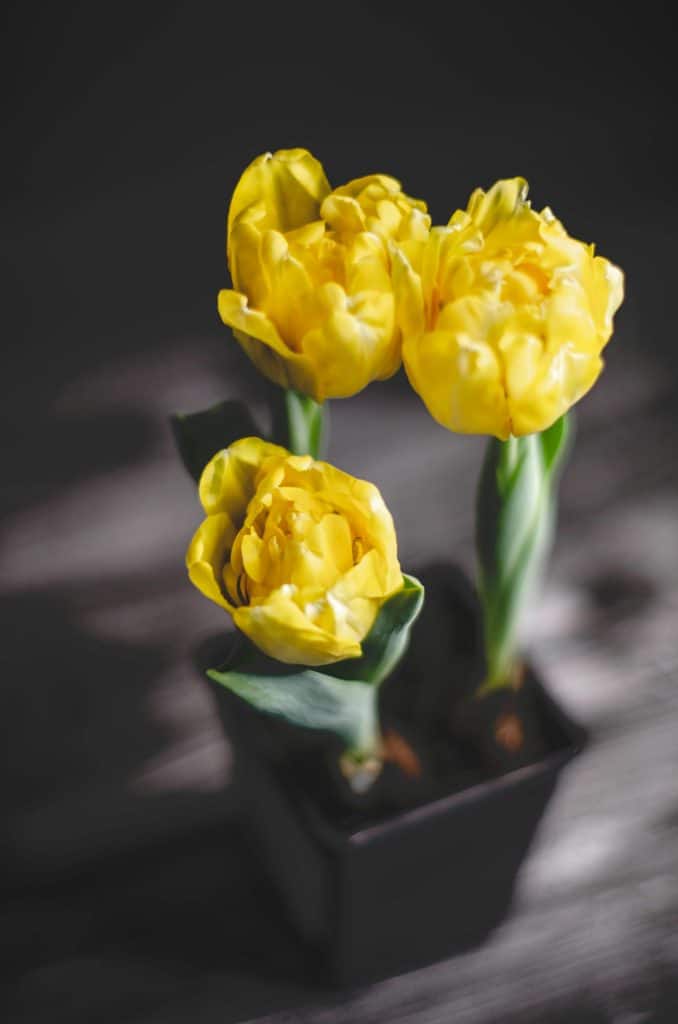
Sunny yellows.
Deep purples that almost look black in shadow.
Suddenly the city feels alive again.
It’s not surprising that tulips have become a symbolic marker of spring across Quebec. Their blooms are simple but expressive, each stem holding a single elegant flower that opens with the returning warmth of the sun.
A Flower With a Long Journey
While tulips feel perfectly at home here, their story began far away.
Tulips originally grew wild in the mountainous regions of Central Asia before becoming deeply associated with the Ottoman Empire. From there they travelled into Europe, eventually sparking a famous period known as “Tulip Mania” in the Netherlands during the 1600s.
At that time, certain tulip bulbs became so rare they were traded like luxury goods.
According to the educational resources from Espace pour la Vie, tulips quickly became one of the most cultivated ornamental bulbs in the world because of their striking colours and relatively simple growing requirements.
Today, they’re one of the most recognizable flowers of spring across North America.
And in Montreal, they’ve become part of the seasonal rhythm of the city.

Where to See Tulips in Montreal
Some of the most breathtaking displays of tulips in Montreal appear in public gardens each spring.
The Montreal Botanical Garden is especially known for its seasonal plantings, where thousands of bulbs emerge in carefully planned waves of colour.
Neighbourhood parks also join the celebration. As the ground warms, beds of tulips begin appearing throughout the city, transforming ordinary green spaces into vibrant spring scenes.
You’ll often notice:
- Early tulips opening first in warm, sunny areas
- Mid-season varieties creating larger colour displays
- Late tulips stretching the bloom season deeper into May
This layered planting approach allows Montreal’s tulip displays to evolve week by week.
One of the reasons tulips work so well in colder climates is that they require a period of winter chill to bloom properly, something our long winters provide naturally.
The Quiet Beauty of a Tulip
Tulips are remarkable not because they are complicated, but because they are simple.
One stem.
One bloom.
One perfect moment of colour.
As the sun warms the day, the petals slowly open wider. In cooler evening air, they gently close again.
This daily rhythm gives tulips an almost living presence in the garden.
The Espace pour la Vie guide to tulips also notes that their diversity is extraordinary! There are thousands of cultivated varieties, each with its own shape, colour pattern, and bloom timing.
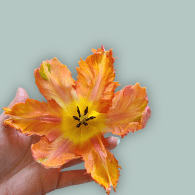
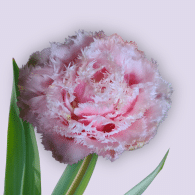
Some resemble elegant cups.
Others look like starbursts or fringed sculptures.
Yet all share that same unmistakable tulip silhouette.
Bringing Tulips Into the Home
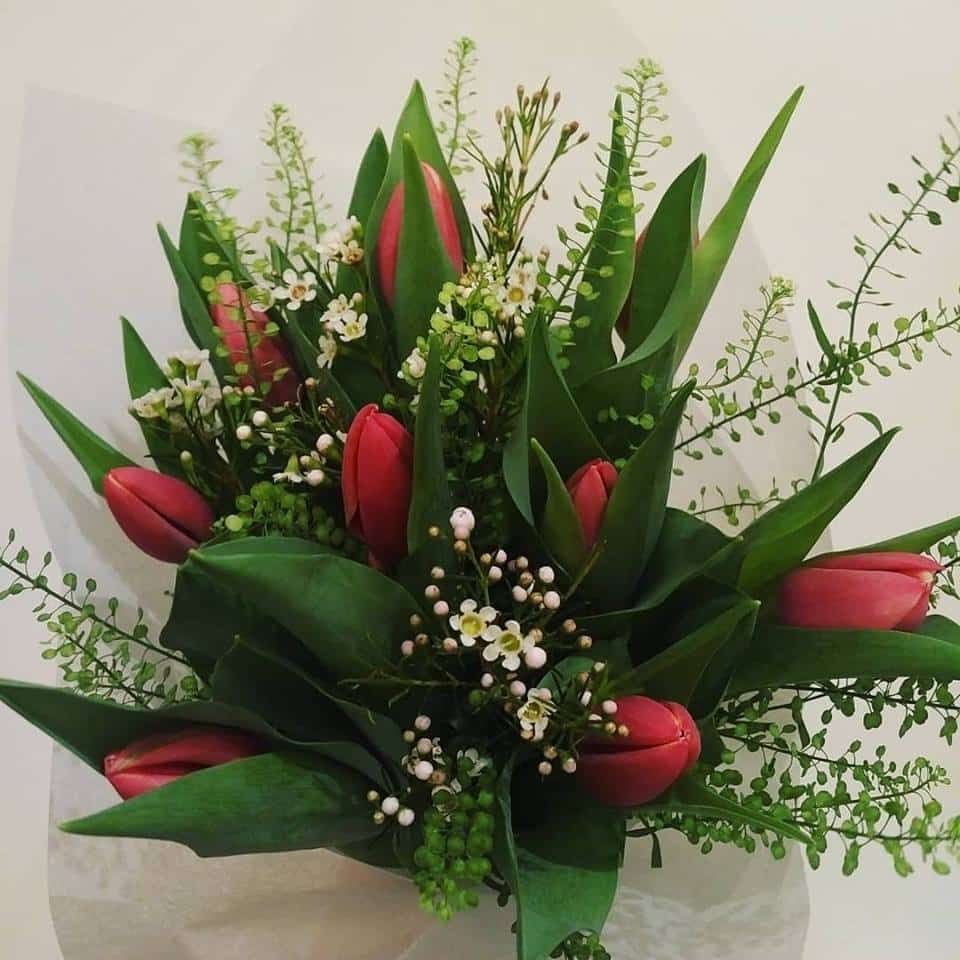
The arrival of tulips in Montreal doesn’t stay outdoors for long.
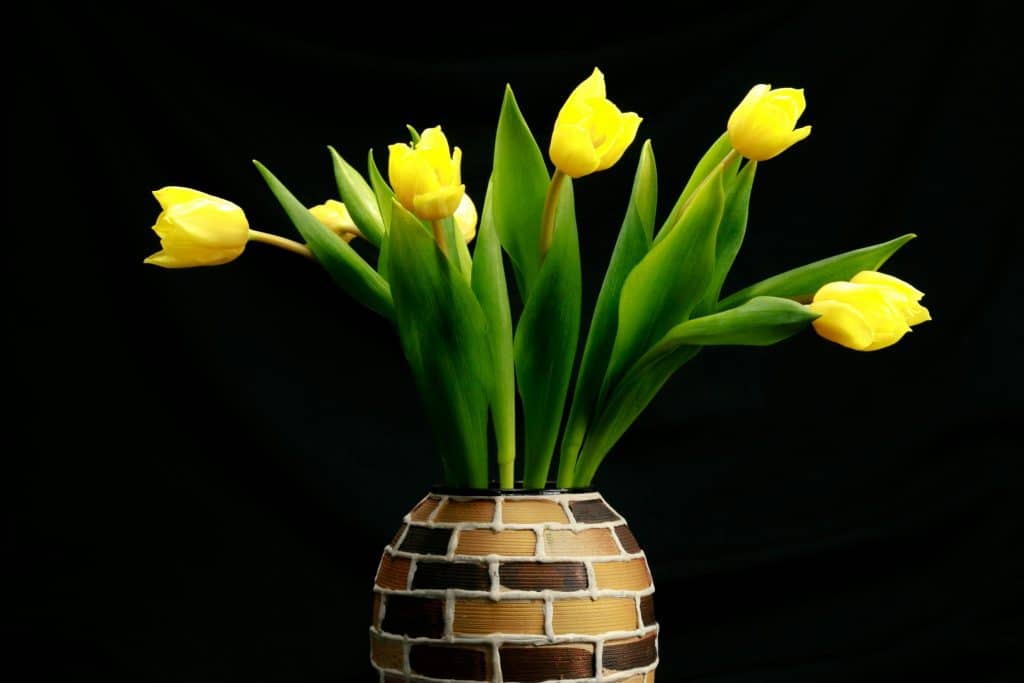
Florists and flower shops begin filling their spaces with fresh tulip bunches. A simple vase on a table, or a potted tulip on your sill, can instantly brighten a room still emerging from winter.
Tulips are loved for their natural movement as well.
Unlike many cut flowers, tulips continue to grow slightly in the vase, sometimes bending and stretching toward the light. What begins as a tidy arrangement slowly transforms into something more organic and expressive.
It’s part of their charm.
A Flower That Marks the Turning of the Season
Every year, the arrival of tulips in Montreal marks the same quiet turning point.
Snow melts into soil.
Trees prepare their first leaves.
And the city begins waking up again.
Tulips remind us that spring rarely rushes in all at once. It unfolds slowly… one bloom at a time.
Their colours scattered across gardens, parks, and windowsills become a shared signal across the city:
Winter is ending.
The light is returning.
And the season of flowers has begun.